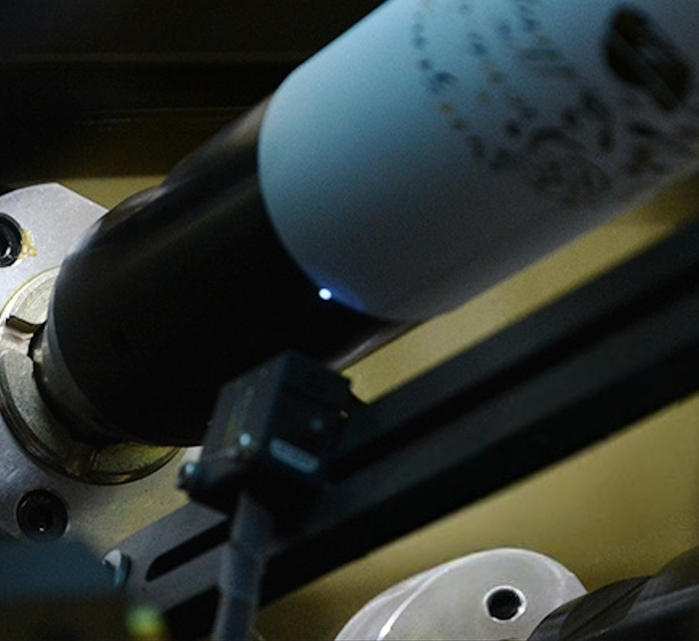
Silk Screen Printing Machine Maintenance for Soft Tubes: A Proactive Framework for Pharma and Cosmetic Producers
I. Why Maintenance and Print Quality Are the Same Topic
On a soft tube, the print does a lot of work. It carries the brand logo, the dosage instructions, the batch code, and sometimes legally required warnings. A faint letter on a cosmetic tube annoys a brand owner. A faint letter on an ointment tube can lead to a rejected batch.
Most print defects don’t start with the ink or the operator. They start with the machine. A squeegee edge that has gone round, a loose registration pin, a dusty sensor, or a UV lamp that has quietly lost 30% of its output will each show up on the tube before they show up anywhere else.
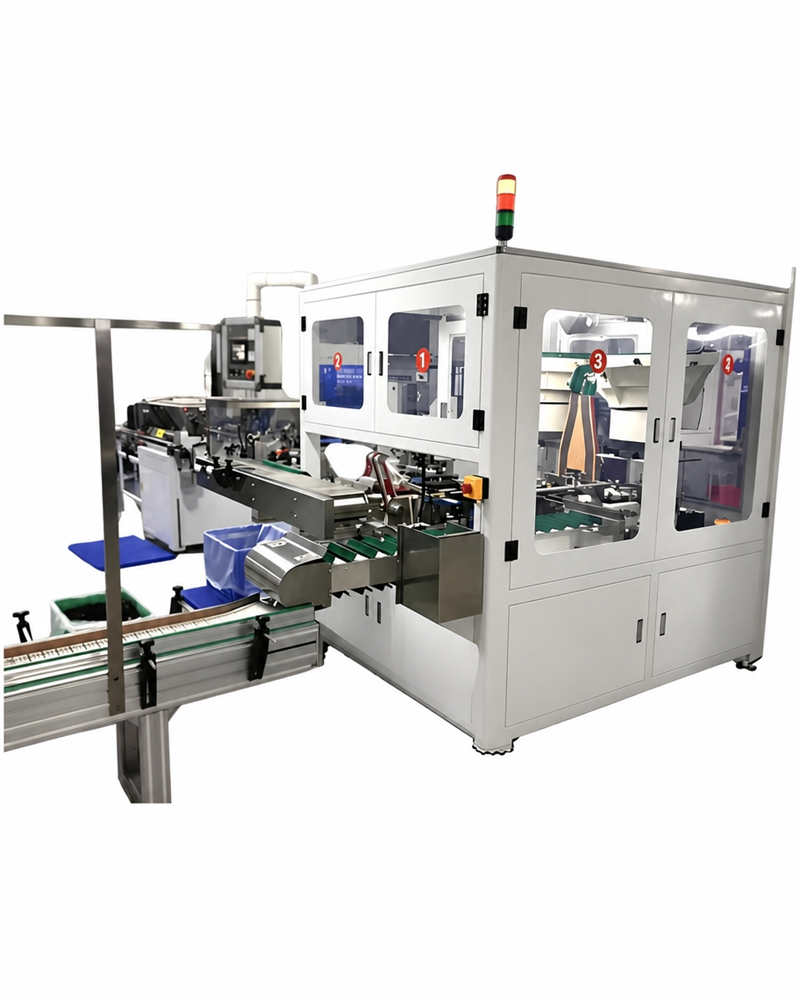
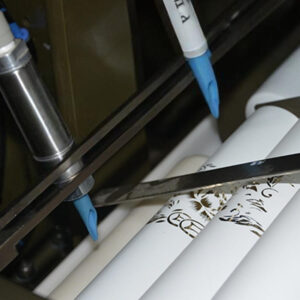
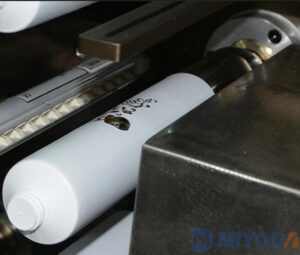
Quick definition: Silk screen printing Screen printing pushes ink through a fine mesh stencil onto a surface. On tube lines, the tube spins under a flat screen while a rubber blade, called a squeegee, presses ink through the open areas of the mesh. The result is a thick, opaque layer of ink, which is why brands use it for bold whites, metallics, and tactile effects.
What Downtime Really Costs
Here is a simple example. A line prints 4,000 tubes per hour, and each printed tube is worth $0.12 of added value. One unplanned 3-hour stop per week adds up to:
| Item | Calculation | Annual Loss |
|---|---|---|
| Lost output | 3 h × 4,000 tubes × 50 weeks | 600,000 tubes |
| Lost value added | 600,000 × $0.12 | $72,000 |
| Scrap during restart (≈300 tubes per stop) | 15,000 × $0.12 | $1,800 |
| Overtime to recover orders | Varies | Often $10,000+ |
None of this includes the cost of a delayed delivery to a pharma customer, which can put a supply contract at risk.
The Goal: From Fixing to Optimizing
Reactive maintenance means waiting for the machine to tell you something is wrong, usually through scrap. Proactive maintenance means acting on a schedule and on data before any defects appear.
The rest of this guide gives you that framework, section by section. You can put it to work on any tube silk screen printing machine running cosmetic or pharmaceutical tubes.
II. Establishing a High-Precision Daily Calibration Routine
Consistent print registration begins with a disciplined daily start-up routine. Ten minutes of checks at shift start can save you hours of sorting later.
Glossary: Registration Registration means each colour lands in exactly the right place relative to the others and to the tube’s seam or eye-mark. Pharma artwork often allows only ±0.1–0.2 mm.
1. Verify Alignment Markers and Registration Pins
“Ghosting” is a faint double image, and “shifting” is when a colour gradually moves off position. Both usually come from:
- Worn or loose registration pins, which are the locating pins that hold the screen frame in the same place every time
- A screen frame that wasn’t fully seated after cleaning
- An eye-mark sensor that is dirty or slightly misaligned. This photo sensor reads a printed mark on the tube so the machine knows where to start each print.
Daily action: Wiggle each screen frame by hand once it is clamped. If you can feel movement, you will see it in the print. Wipe the eye-mark sensor lens with a lint-free cloth and confirm that it detects the mark on 10 test tubes in a row.
2. Calibrate Ink Viscosity and Squeegee Pressure
Tubes are curved and slightly soft, so pressure matters more than on flat items. Too much pressure smears the ink. Too little leaves gaps.
| Check | Tool | Typical Target |
|---|---|---|
| Ink viscosity | Viscosity cup or rotational viscometer | Same reading as the approved job card (±5%) |
| Squeegee pressure | Machine gauge / regulator | Lowest setting that gives a clean, full print |
| Squeegee angle | Angle gauge | Usually 70–80° to the screen |
Industry insight: Experienced printers aim for the minimum squeegee pressure that still prints cleanly. Every extra kilogram of force shortens the life of both the squeegee and the screen, and it is a common hidden cause of blurred fine text.
3. Run a First-Piece Inspection Checklist
Before full production, print 5–10 tubes and inspect them against the approved master sample:
- Registration of every colour, measured with a loupe or a ruler under magnification
- Colour density compared with the master, using a light box
- Fine text sharpness, especially dosage and batch information
- Ink adhesion, using a tape test on a cured sample
- Position of the print relative to the shoulder and the crimp area
The line supervisor signs off before the run begins. For pharma jobs, keep the signed first piece with the batch record.
III. Mastering the Nuances of Soft Tube Substrate Interaction
Solving common print defects means understanding how ink behaves on flexible tube materials. A rigid bottle stays put during printing. A soft tube flexes, so the machine has to make up for that movement.
1. Fix Bleeding and Blurring with Curing and Ink Choice
“Bleeding” means ink spreads past the design edge. “Blurring” means edges look soft. The usual causes are:
- Ink that is too thin, often from adding too much solvent on a hot day
- Too much delay before curing, so wet ink keeps flowing
- Mesh that is too coarse for the fine detail
Fix: Use a finer mesh for small text (for example 120–150 threads/cm instead of 90), cure as soon as possible after the print stroke, and record the thinner ratio on the job card so every shift mixes ink the same way.
2. Manage Tube Deformation During the Print Stroke
When the squeegee presses down, a soft PE tube can flatten slightly. When it springs back, the print gets distorted.
Most tube printers solve this with a mandrel, a metal rod that slides inside the tube to support it. Some machines also blow a little air pressure into the tube to keep it firm.
| Problem | Likely Cause | Adjustment |
|---|---|---|
| Print stretched on one side | Mandrel slightly undersized for the tube | Use the correct mandrel diameter |
| Wavy lines | Tube slipping on the mandrel | Check grip or vacuum, clean the mandrel |
| Light print at the tube end | Mandrel not reaching full length | Adjust insertion depth |
3. Solve Adhesion Issues with Surface Treatment Checks
Polyethylene naturally repels ink because its surface energy is low. Tubes are usually treated by flame or by corona treatment to raise surface energy so ink can grip.
Glossary: Surface energy (dyne level) This is a measure of how easily a liquid wets a surface, given in dynes/cm. Untreated PE is around 31 dynes/cm. Most tube inks need about 38–42 dynes/cm or more to bond well.
Industry insight: Surface treatment fades over time. Tubes stored for several weeks, especially in warm warehouses, can drop below the level needed for good adhesion. That is why one batch prints perfectly while another flakes off.
A quick check with dyne test pens at goods-in takes 30 seconds and can save a full rejected run.
IV. Squeegee and Screen Management for Long-Term Clarity
Print quality can only be as good as the consumables that touch the tube.
1. Set an Optimal Squeegee Replacement Cycle
Squeegees are usually polyurethane blades rated at about 65–80 Shore A hardness. Shore A is a scale where lower numbers mean softer rubber. With use, the sharp printing edge becomes rounded, ink deposits get thicker and less even, and fine lines start to fill in.
| Run Type | Inspect Edge | Typical Re-sharpen / Replace |
|---|---|---|
| Standard cosmetic inks | Every shift | Every 50,000–80,000 prints |
| High-pigment white or metallic inks | Every shift | Every 30,000–50,000 prints |
| UV inks with abrasive fillers | Every 4 hours | Every 25,000–40,000 prints |
These are starting points. Adjust them to the wear you actually record.
Simple test: Run a fingernail along the edge. If you feel nicks or a round profile, re-sharpen or replace the blade. A single nick shows up as a streak on every tube.
2. Tension and Clean Screens Properly
Glossary: Screen tension This is how tightly the mesh is stretched on the frame, measured in newtons per centimetre (N/cm). Tube printing screens usually run at about 18–25 N/cm.
Low tension lets the mesh stretch during the stroke, which distorts the image and causes registration drift. Clogged mesh causes pinholes, which are small unprinted dots inside solid areas.
Cleaning routine:
- Remove excess ink with a plastic spatula, never metal.
- Clean both sides of the screen with the solvent the ink maker recommends.
- Wipe dry with lint-free cloths.
- Hold the screen up to the light and look for blocked areas.
3. Store Screens Correctly
- Store screens upright in a rack, not stacked flat.
- Keep them away from direct sunlight and heaters.
- Label each screen with the job number, mesh count, tension at creation, and date.
- Re-check tension before reuse. A screen that has dropped more than 3–4 N/cm should be retired for fine pharma text.

V. Mechanical Wear Prevention: Lubrication and Component Care
Preventing mechanical failure is a matter of scheduled precision, not guesswork.
1. Lubricate Drive Rails and Bearings
The screen carriage moves back and forth thousands of times per hour. Dry rails cause jitter, small shakes that show up as uneven lines or slight registration shifts.
| Component | Interval | 注記 |
|---|---|---|
| Linear guide rails | Weekly or every 40 operating hours | Wipe off old grease first |
| Carriage bearings | Every 2 weeks | Check for noise or play |
| Cam followers / indexing table | 月次 | Follow the OEM chart |
| Chains and gears | 月次 | Light film only |
In pharma and cleanroom areas, use lubricants certified for incidental product contact, such as NSF H1 or ISO 21469 certified lubricants. Apply small amounts and wipe away any excess. Over-greasing attracts dust and ink mist.
2. Inspect Pneumatic Lines and Seals
Many tube printers use compressed air to drive the squeegee, lift the screen, or eject tubes. A small air leak lowers pressure. Lower pressure means weaker, uneven print force.
Weekly check:
- Listen for hissing at fittings while the machine is idle.
- Check the regulator reading against the job card.
- Drain the water trap on the air filter. Water in the air lines rusts valves.
3. Keep Sensors and Limit Switches Clean
Ink mist and dust collect on photo sensors and limit switches. A dirty sensor can miss a tube, trigger a false stop, or start a print stroke at the wrong moment.
Daily action: Wipe all optical sensors at shift start. Check that the limit switch actuators move freely with no dried ink build-up.
VI. Optimizing the Curing and Drying Phase
Proper curing is the last safeguard against smudging and rejected pharmaceutical tubes.
Glossary: Curing Curing turns liquid ink into a solid, durable film. UV curing uses ultraviolet light to harden the ink in seconds. IR (infrared) drying uses heat to evaporate solvents.
1. Calibrate Tunnel Temperatures to Ink and Tube Material
PE tubes soften at relatively low temperatures. If you overheat them, they can deform, shrink, or develop shiny spots.
| Tube Material | Typical Safe Surface Temperature | Risk if Exceeded |
|---|---|---|
| LDPE / LLDPE tubes | Below ~60–65 °C | Ovality, shrinkage |
| HDPE-blend tubes | Below ~70 °C | Warping near the seam |
| ABL / PBL laminate tubes | Below ~70–75 °C | Layer stress, curl |
These ranges are general guidance. Always confirm them with your tube and ink suppliers.
Industry insight: Many lines set the dryer temperature once and never check the tube itself again. Measure the actual tube surface with an infrared thermometer every week. The dryer display shows the air or heater temperature, not the temperature of the tube.
2. Balance Conveyor Speed with Complete Curing
Faster conveyor speed means less curing time. Under-cured ink feels fine when it leaves the tunnel but smudges later in the capper or the shipping carton.
Simple test: Rub a cured tube firmly 10 times with a cotton swab dipped in isopropyl alcohol. If colour comes off, the ink is under-cured. For UV inks, a UV radiometer confirms the actual energy dose.
3. Clean UV Lamps and IR Heaters
Dust and ink fumes coat lamps and reflectors. A dirty reflector can cut UV output enough to cause under-curing, even though the lamp still looks bright.
| Item | クリーニング | Replacement |
|---|---|---|
| Mercury UV lamp | Weekly, wipe with IPA (lamp cold, gloves on) | About every 1,000–2,000 hours |
| UV reflectors | 週刊 | When pitted or discoloured |
| LED-UV modules | Weekly, clean the window | Much longer life, often 20,000+ hours |
| IR heaters | Monthly, blow off dust | When output drops |

VII. Troubleshooting Guide: Rapid Response to Common Production Pain Points
Reducing Mean Time to Repair requires a structured approach to common errors.
Glossary: MTTR (Mean Time to Repair) The average time from a breakdown until the machine is producing good tubes again. Cutting MTTR from 90 minutes to 30 minutes on a busy line can recover hundreds of production hours each year.
Quick Diagnosis Table
| Symptom | Most Likely Causes | First Fix |
|---|---|---|
| Streaking (lines in the print direction) | Lint on the screen, dried ink in the mesh, nick in the squeegee | Clean the screen, check the squeegee edge, add lint-free wipes at the station |
| Misregistration (colours out of position) | Loose screen clamps, worn bushings, wrong mandrel or jig | Re-tighten clamps, check play in bushings, confirm the correct tooling |
| Incomplete fills (gaps in solid areas) | Low ink level, too little pressure, snap-off too small | Top up ink, raise pressure slightly, increase snap-off |
| Blurred edges | Snap-off too large, ink too thin, low screen tension | Lower snap-off, adjust viscosity, re-tension the screen |
| Pinholes | Clogged mesh, dust on the tubes | Deep clean the screen, check tube cleanliness |
| Smudging after curing | Under-curing, contact too early | Check UV dose and dryer time |
Glossary: Snap-off distance The small gap between the screen and the tube surface before the squeegee presses down. On tube printing it is usually only about 1–3 mm. It lets the mesh “snap” cleanly away from the wet ink.
How to Diagnose Faster
- Look at the defect pattern. If it shows up on every tube in the same place, the cause is the screen or the squeegee. If it is random, look at tubes, dust, or air pressure.
- Change one thing at a time. Changing three settings at once hides the real cause.
- Record the fix. The next operator saves 30 minutes.
For defects that start before the print station, such as tube ovality or poor shoulder bonds, see this guide on soft tube production troubleshooting.
VIII. The Distributor’s Role: Ensuring Post-Installation Success
The relationship between distributor and end user is vital for keeping production running. A machine sale is the start of the relationship, not the end of it.
1. Schedule Health Check Visits
A quarterly or half-yearly “health check” visit should cover:
- Rail and bearing play measurements
- Pneumatic leak test
- Sensor function test
- UV lamp hours and radiometer reading
- Review of the customer’s maintenance log and reject data
Industry insight: Distributors who offer paid preventive service contracts often find that these customers buy their next machine from them. A customer who sees you catch a failing bearing before it stops their line remembers it.
2. Provide Localized Training
Operators learn best in their own language, on their own machine, with their own tubes. Offer short, practical sessions that cover:
- Squeegee sharpening and replacement
- Screen tension checks
- The troubleshooting table above
- Safe UV lamp handling
3. Hold a Critical Spare Parts Inventory
Waiting three weeks for a $40 sensor from overseas can cost the customer far more than the machine margin. Keep a local stock of fast-moving parts:
| Part | Why Stock It |
|---|---|
| Squeegee blades | Consumed constantly |
| Photo sensors / eye-mark sensors | Common failure, stops the line |
| Pneumatic cylinders and seals | Wear items |
| UV lamps | Fixed lifespan |
| Mandrels for common diameters | Damage stops production |
| Belts and bearings | Predictable wear |
で ミヨダ・パッケージング・マシナリー, we work with distributor partners to plan their regional spare parts kits based on the installed machines and tube diameters in their market, so the most common replacement parts are already in-country when a customer needs them.

IX. Developing a Digital Maintenance Log and Accountability System
Data-driven maintenance takes the guesswork out of machine longevity.
1. Track the Lifespan of Screens, Squeegees, and Belts
A simple shared spreadsheet or a CMMS (Computerised Maintenance Management System, which is software that schedules and records maintenance work) can track:
| Item ID | Installed | Print Count | Condition Notes | Next Action |
|---|---|---|---|---|
| SQ-07 (white ink) | 2 Oct | 42,000 | Slight edge rounding | Re-sharpen at 50,000 |
| SCR-1123 (logo, 150 mesh) | 12 Sep | 180,000 | Tension 20 N/cm | Re-check at 250,000 |
| UV lamp #2 | 15 Jun | 1,340 h | Output 88% | Replace at 1,800 h |
2. Set Automated Alerts
Most modern PLCs (Programmable Logic Controllers, the machine’s control computers) can count prints and operating hours. Set alerts for:
- Squeegee inspection every X prints
- Rail lubrication every 40 hours
- UV lamp replacement at a set number of hours
- Air filter drain each week
3. Use Error Logs for Root-Cause Analysis
When the same alarm appears five times in a month, that is a pattern, not bad luck. Review the error log monthly and ask “why” until you reach the real cause.
Example: “Tube missing” alarms kept rising on the night shift. The cause turned out to be condensation on a sensor lens after the factory air conditioning switched off. The fix was moving the sensor 50 mm and adding a small air purge. Night shift stops dropped to almost zero.
For a wider look at maintenance across the whole tube line, read our guide to cosmetic tube machine maintenance issues and solutions.
Watch: Automatic Screen Printing on Cosmetic Tubes
This video shows high-speed automatic screen printing on cosmetic and pharmaceutical tubes. Watch how the tube loads onto the mandrel, how the squeegee strokes, and how the tube moves into curing. These are exactly the areas covered by the maintenance checks in this guide.
https://www.youtube.com/watch?v=hJydOxl5OZU
X. What Proactive Maintenance Delivers
A disciplined routine of daily calibration, managed consumables, scheduled lubrication, controlled curing, and logged data does three things for your business:
- It raises yield. Fewer streaks, smudges, and registration rejects.
- It protects your reputation. Pharma customers stay with suppliers whose print never fails an audit.
- It extends machine life. Rails, bearings, and pneumatics last years longer when they are cared for on schedule.
From Operating a Machine to Managing an Asset
The operators who get the best results treat their printer as a production asset with its own performance data, not as a box that runs until it stops.
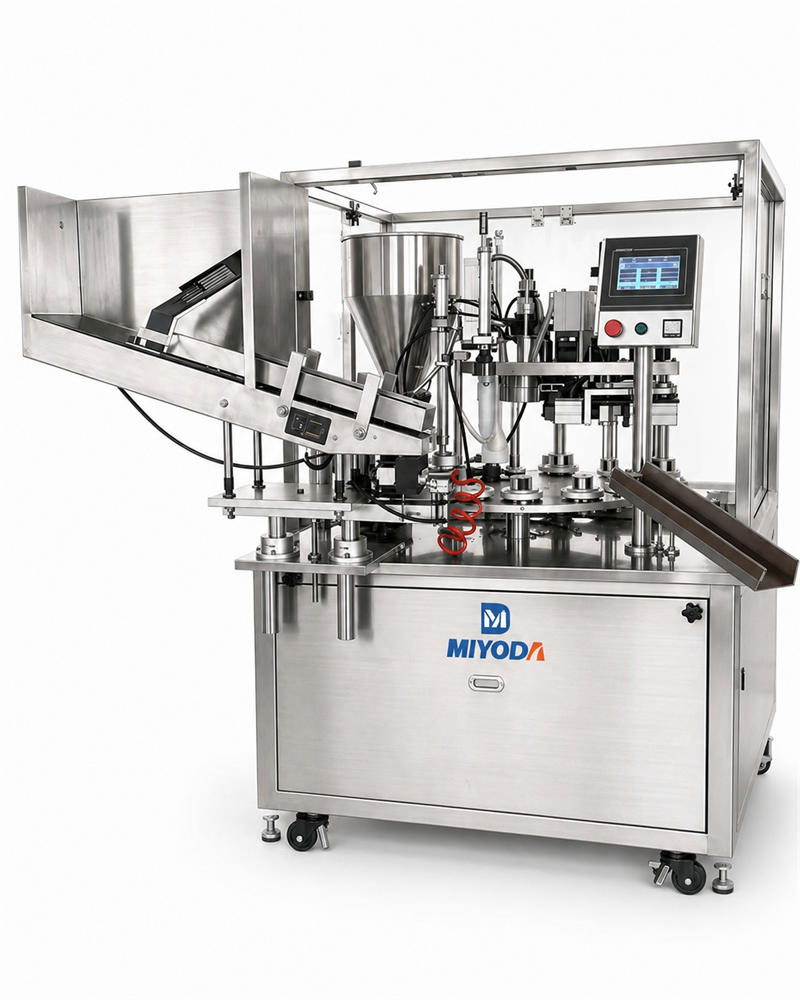
Your printer also connects to the rest of the line. It is fed by the チューブ押出ライン upstream and feeds capping and the tube filling and closing machine downstream. A stable printer keeps the whole line in rhythm.
Act Now, Not After the Next Breakdown
Begin with one step this week: a signed first-piece inspection at every shift start. Next month, add the squeegee log. In a quarter, you will have data that shows where your downtime comes from.
If you want help setting up a maintenance schedule, choosing spare parts, or training your team, contact our tube printing engineers. We will review your current machines, inks, and tube types with you.
Glossary of Key Terms
| Term | Simple Meaning | Example |
|---|---|---|
| Registration | Colours landing in the right position | Red logo sits exactly inside its white outline |
| Squeegee | Rubber blade that pushes ink through the mesh | 75 Shore A polyurethane blade |
| Mesh count | Number of threads per cm in the screen | 150 mesh for fine pharma text |
| Screen tension | How tight the mesh is | 20 N/cm |
| Snap-off | Gap between the screen and the tube | 2 mm |
| Mandrel | Support rod inside the tube | 35 mm mandrel for a 35 mm tube |
| Dyne level | Surface energy of the tube | 40 dynes/cm after treatment |
| MTTR | Average repair time | 30 minutes |
| First-piece inspection | Approval check before the run | 5 tubes vs. master sample |
よくある質問
1. How often should we replace the squeegee for high-volume pharmaceutical tube runs?
Inspect the edge every shift. For standard inks, plan to re-sharpen or replace every 50,000–80,000 prints, and sooner for abrasive white or metallic inks. Replace immediately if you find any nick, because pharma text must stay sharp.
2. What is the most common cause of registration drift during a long production shift?
Usually a combination of screen tension loss, loose frame clamps, and heat building up in the machine. Re-check clamps after the first two hours and use screens with stable tension.
3. How do I prevent ink from smudging on soft tubes during the cooling phase?
Make sure the ink is fully cured before the tube touches anything. Check UV dose or dryer time, and add a short cooling zone so tubes don’t stick together in the collection bin.
4. Which specific lubricants are safe for use in a clean-room pharmaceutical environment?
Use NSF H1-registered or ISO 21469-certified lubricants rated for incidental product contact. Apply them sparingly and wipe off any excess, and record the lubricant used in your maintenance log for audits.
5. How can I tell if my screen tension is too low without professional equipment?
Press the centre of the mesh gently with a fingertip. It should feel firm, like a drum. If it sags or feels soft, or if your print edges are blurring, tension has probably dropped. A tension meter is still the most reliable check.
6. Why does my ink adhere perfectly to some batches of tubes but not others?
Surface treatment fades over time, so tube batches stored longer or in warmer conditions often have lower dyne levels. Test every incoming batch with dyne pens before printing.
7. What is the ideal temperature range for curing ink on PE laminate tubes?
Keep the actual tube surface below about 70–75 °C for laminate tubes, and lower for soft LDPE tubes. Confirm the curing settings with your ink supplier’s technical data sheet.
8. How can distributors quickly diagnose a machine issue remotely via video/logs?
Ask for three things: a short video of the defect and the print stroke, a photo of the alarm screen, and the latest maintenance log. Those three cover most problems before anyone needs to visit.
9. What are the “red flag” warning signs that a bearing or rail is about to fail?
New grinding or clicking noises, visible play in the carriage, uneven print lines that repeat at the same point, and rising motor current. Act on any of these within days, not weeks.
10. How do I adjust the snap-off distance to fix blurred edges on small-diameter tubes?
Reduce the snap-off in small steps of about 0.5 mm. Small tubes such as 16–19 mm usually need the smallest gap. Re-check pressure after each change.
11. What is the recommended daily cleaning agent for removing cured ink from the machine bed?
Use the cleaner recommended by your ink supplier, often isopropyl alcohol for light residue or a dedicated press wash for heavier build-up. Avoid strong solvents that can damage seals and paintwork.
12. How does humidity affect ink viscosity and print consistency in soft tube decoration?
High humidity can slow drying and cause moisture-related defects. Very dry air speeds up solvent loss and drying on the screen. Aim for a stable 45–65% relative humidity and check ink viscosity more often during seasonal changes.