Silk Screen Tube Printing: How to Calibrate, Maintain, and Support Your Line for Fewer Defects
I. Why “Installed” Is Not the Same as “Optimized”
On a pharmaceutical tube, the print carries information the patient relies on. It shows the drug name, the strength, the batch code, and the expiry date. A blurred “0.1%” that looks like “0.7%” is a recall risk.
On a cosmetic tube, the print sells the product. A logo that is 0.3 mm out of place is easy to spot on the shelf next to a competitor’s tube.
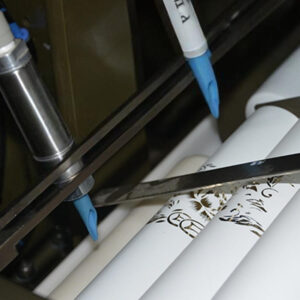
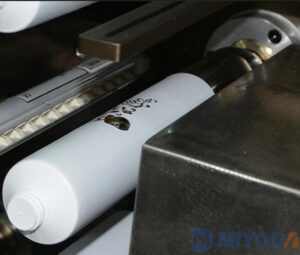
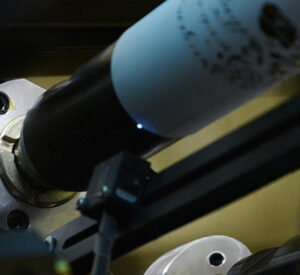
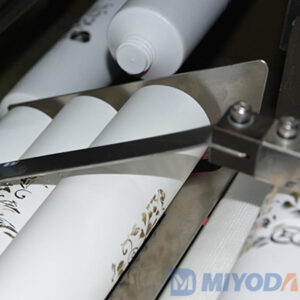
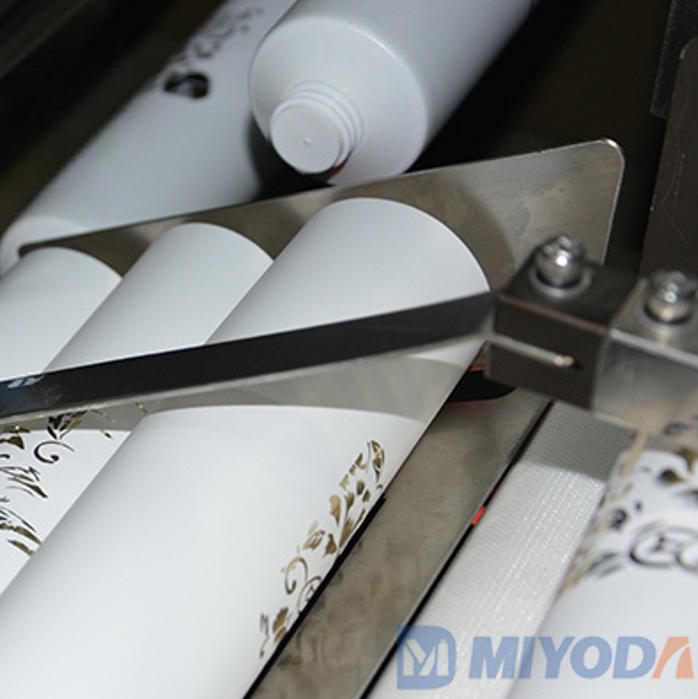
That’s why silk screen tube printing has very little margin for error. Silk screen printing, also called screen printing, pushes ink through a fine mesh stencil onto the tube. On soft tubes, the tube sits on a supporting rod called a mandrel and rotates under the screen while a rubber blade, the squeegee, presses ink through the mesh.
The machine passing its acceptance test on day one doesn’t mean it will hold quality. Most lines run at 85–90% of what they could reach for months after installation. The factory settings were made for test tubes and test ink, not for your materials, your ink, and your plant conditions.
Industry insight: Across tube decoration plants, the first 100–300 operating hours after installation produce most of the “machine problems” reported to suppliers. Most of these turn out to be calibration, ink, or environment issues, not hardware faults. Get those right and the hardware usually behaves.
This guide covers the calibration, maintenance, and support steps that take a line from installed to high-yield and close to zero-defect.
Quick Reference: Where Print Defects Usually Start
| Root Cause Area | Share of Typical Print Defects* | Covered in Section |
|---|---|---|
| Squeegee setup | High | II |
| Screen tension and registration | High | III |
| Ink viscosity and adhesion | High | IV |
| Feed and rotation sync | Medium | V |
| Curing | Medium | VI |
| Maintenance gaps | Medium | VII |
| Environment (heat, dust, static) | Often overlooked | VIII |
*Based on common patterns in tube decoration troubleshooting. Your line’s mix will differ.
II. Optimizing Squeegee Pressure and Angle for Consistent Ink Deposit
The squeegee controls how much ink reaches the tube and how sharp the edges are. If the squeegee is set badly, no ink or screen can make up for it.
Point 1: Calibrate Pressure to Stop Bleeding and Ghosting
Soft PE and laminated tubes give a little under pressure. If squeegee pressure is too high, two things go wrong:
- Bleeding happens when ink spreads past the stencil edge, so fine text looks fat and fuzzy.
- Ghosting is a faint second image, usually caused by the mesh smearing ink as it lifts off.
The right pressure is the lowest pressure that still gives a clean, full print.
How to find it:
- Start at light pressure, where the print is clearly incomplete.
- Raise the pressure in small steps, one quarter-turn or 0.1 bar at a time.
- Stop as soon as the image is fully solid with no gaps.
- Write that setting down as your baseline for this tube, ink, and screen combination.
Most operators set pressure 20–40% higher than they need to “be safe.” That extra pressure wears out squeegees faster and causes most edge bleeding.
Point 2: Adjust the Attack Angle Across Tube Diameters
Glossary: Attack angle This is the angle between the squeegee blade and the screen. A steeper angle (closer to 90°) puts down a thinner ink layer. A flatter angle puts down more ink.
Many tube printers run between 70° and 80°. Small tubes, such as 16–19 mm eye cream or ointment tubes, curve tightly, so contact with the screen happens along a very narrow line. A slightly steeper angle keeps that line sharp. Larger tubes from 40 to 60 mm can usually take a slightly flatter angle so the ink covers well across the wider contact area.
Example: A plant moving from a 35 mm hand cream tube to a 19 mm ointment tube kept the same 72° angle and saw blurry small text. Raising it to 78° and lowering pressure slightly brought back clean 6-point text.
Point 3: Pick the Right Squeegee Hardness (Durometer)
Squeegee hardness is measured on the Shore durometer scale, which tells you how hard or soft the rubber is.
| Squeegee Hardness (Shore A) | Behaviour | Best Fit |
|---|---|---|
| 60–65 (soft) | Puts down more ink, follows uneven surfaces | Heavy opaque whites, slightly uneven tubes |
| 70–75 (medium) | Balanced deposit and sharpness | Most PE and laminated tube work |
| 80–85 (hard) | Thin deposit, sharpest edges | Fine text, barcodes, pharma small print |
Industry insight: Triple-layer squeegees (hard in the centre, softer on the faces) are becoming more common on pharma tube lines. The hard core holds the edge sharp, and the softer faces follow the curve of the tube.
III. Mastering Tension and Registration for Multi-Color Alignment
Registration drift is the most visible defect in multi-color tube printing, and the most expensive one. Registration means how well each color lines up with the others.

Point 1: Verify Screen Tension Before Every Job
Screen tension is how tight the mesh is stretched on its frame, measured in newtons per centimetre (N/cm). A loose screen stretches as the squeegee passes, which distorts the image. Logos stretch and text drifts along the length of the tube.
Practical checks:
- Measure tension at five points (four corners and the centre) with a tension meter.
- New screens usually lose tension during the first day or two. Re-tension or re-check them before using them on a production job.
- Retire a screen when its tension has dropped well below where you first validated it, or when readings vary noticeably across the frame.
Point 2: Fine-Tune the Indexing System
On multi-color machines, the tube moves from one print station to the next. This step is called indexing. Each station has to pick up the tube in exactly the same rotational position.
Most lines use a registration mark, which is a small printed or embossed mark, often hidden under the tube’s crimp area. A sensor reads it to “find” the start point.
Check these points weekly:
- The registration sensor is clean, and its signal strength is stable.
- The mandrels turn without wobble. A bent mandrel causes drift that looks random.
- Indexing gears and cams show no backlash. Backlash is the small amount of play between moving parts.
Point 3: Use a “Master Template” for Faster, Cleaner Setups
Keep a master template for every design. This is a printed reference tube, approved by quality, along with recorded settings for screen position, squeegee pressure, angle, and speed.
At every changeover:
- Load the saved settings.
- Print 3–5 tubes.
- Compare them side by side with the master template under standard lighting.
- Make small adjustments only, and record any change.
Result in practice: Plants that switch from setting up “by eye” to a master-template routine usually cut setup scrap from 60–100 tubes per changeover to 15–25. Across 10 changeovers a week, that saves thousands of printed tubes a year.
IV. Managing Ink Viscosity and Chemical Compatibility
Tube surfaces are non-porous, so ink sits on top instead of soaking in. That makes ink behaviour, and the surface itself, critical.
Point 1: Keep Viscosity in a Tight Window
Viscosity is how thick or runny the ink is. If it’s too thick, it clogs the mesh and leaves gaps. If it’s too thin, it bleeds and flows outside the edges.
Simple controls:
- Measure viscosity at the start of each shift with a viscosity cup or viscometer, and log it.
- Add thinner or reducer by weight, not “by splash,” and follow the ink supplier’s maximum percentage.
- Stir inks before use. Heavy pigments, especially white titanium dioxide, settle quickly.
Point 2: Solve the Adhesion Challenge on Treated vs. Untreated Surfaces
Raw polyethylene has low surface energy. Water beads up on it, and so does ink. To make ink stick, PE tubes are usually surface-treated by flame or by corona treatment, which uses an electrical discharge to “activate” the surface.
Glossary: Dyne level This is a measure of surface energy in dynes per centimetre. Higher numbers mean ink wets the surface better. Dyne testing uses test pens or liquids to check it quickly on the shop floor.
| Surface Condition | Typical Dyne Reading | Ink Adhesion Risk |
|---|---|---|
| Untreated PE | Around 30–32 | High (peeling likely) |
| Freshly treated PE | 38–42+ | Low |
| Treated PE, stored many weeks | Drops over time | Rising |
Industry insight: Surface treatment fades over time. A common hidden cause of the “ink sticks on some batches but not others” complaint is tubes that sat in the warehouse for weeks before printing. Check dyne level on every incoming tube lot, not just on new suppliers.
Point 3: Manage Drying Time to Prevent Smudging at Speed
At high speed, a tube can leave the print station, rotate, and touch a guide rail or transfer finger before the ink sets. The result is a smudge on the rear of the tube.
Fixes include:
- Moving the first contact point after the print station further away, or using non-contact transfer.
- Adding a UV pinning step between colours. Pinning is a short, low-energy UV flash that partly sets the ink so it won’t smear.
- Matching ink type to line speed. Fast UV inks suit high-speed lines, and solvent inks need more open time.
V. Calibrating Tube Feed and Rotation Synchronization
Mechanical timing matters. When the tube’s rotation and the screen’s movement aren’t matched exactly, you get streaks and uneven ink.

Point 1: Match Feed Speed to the Curing Cycle
Your printer can only run as fast as the slowest step in the process. If the UV or IR dryer needs 1.2 seconds of exposure per tube, pushing the feed faster only produces under-cured tubes.
Rule of thumb: Set line speed from the curing window first, then tune print speed to match. Don’t do it the other way round.
Point 2: Troubleshoot Slippage in the Gripping Mechanism
During printing, the tube has to turn at exactly the same surface speed as the screen moves. If the tube slips on the mandrel, the image stretches, smears, or doubles.
Common causes and fixes:
| Symptom | Likely Cause | Fix |
|---|---|---|
| Image slightly longer than design | Tube slipping on mandrel | Check mandrel inflation air or grip, clean mandrel surface |
| Streak in the same spot every tube | Damaged mandrel or nick in squeegee | Inspect and replace |
| Random smears | Worn drive belt or loose coupling | Re-tension or replace belt |
| Image shifts on thin-wall tubes only | Tube flexing under pressure | Increase internal support air, reduce squeegee pressure |
Point 3: Optimize the Hand-Off to the Drying Unit
The move from the print head to the dryer is where wet ink is most likely to get damaged. Check that:
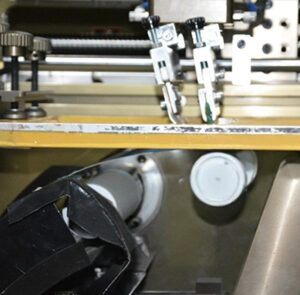
- Transfer fingers or chains only touch the unprinted areas, such as the shoulder or the open end.
- Tubes don’t touch each other on the way in.
- Timing stays the same at every speed setting, not only at the speed used for commissioning.
To see how these motions look on a working line, watch this demonstration of automatic screen printing on cosmetic tubes:
https://www.youtube.com/watch?v=hJydOxl5OZU
VI. Advanced Curing and Drying Optimization
Poor curing causes peeling, colour shifts, and tacky surfaces. In pharma, any of these can mean rejected batches.
Glossary: Curing Curing turns liquid ink into a hard, bonded film. UV curing does this almost instantly with ultraviolet light. IR (infrared) drying uses heat to drive off solvents or set the ink.

Point 1: Balance UV Intensity or Heat to Avoid Warping
Soft PE tubes start to deform at fairly low temperatures. Too much heat from IR dryers, or from the infrared output of mercury UV lamps, can cause:
- Oval tubes that jam on the filling line
- Shrinking or waviness near the open end
- Shine changes on matte laminates
Practical tips:
- Check tube surface temperature right at the dryer exit with an IR thermometer.
- Use cold mirrors or dichroic reflectors on mercury UV lamps to cut heat. Dichroic means the reflector reflects UV light but lets heat pass through.
- Consider LED UV curing, which runs much cooler and is spreading fast in tube decoration.
Point 2: Optimize Dwell Time for Full Polymerization
Dwell time is how long the tube spends under the lamp or heater. Polymerization is the chemical reaction that hardens UV ink.
Too short a dwell time leaves ink soft underneath even when the surface feels dry. That leads to peeling later, often after the tube has been filled and squeezed.
Simple verification tests:
- Thumb twist test. Press and twist your thumb on the print right after curing. It shouldn’t mark.
- Cross-hatch tape test. Cut a small grid into the ink, apply strong tape, and pull it off quickly. No ink should lift.
- Solvent rub test. Rub with an IPA-soaked cloth for a set number of strokes. The print should stay intact.
Point 3: Add a Cooling Phase Before Stacking
Warm tubes stacked or bulk-packed straight from the dryer can stick together (this is called blocking) or pick up marks. A short cooling section, using ambient air or gentle forced air, lets the ink film settle before tubes touch each other.
UV Lamp Comparison
| Fonctionnalité | Mercury UV | LED UV |
|---|---|---|
| Heat on tube | Plus élevé | Much lower |
| Warm-up time | Minutes | Instant on/off |
| Typical lamp life | Around 1,000–2,000 hours | Often 20,000+ hours |
| Output loss over time | Gradual, needs tracking | Slower and steadier |
| Ink compatibility | Very broad | Needs LED-formulated inks |
VII. Preventive Care: Establishing a High-Stability Maintenance Schedule
Stability comes from preventing problems, not from reacting quickly to breakdowns.
Point 1: Daily Cleaning of Print Heads and Sensors
A speck of dried ink on a registration sensor can cause hundreds of misprinted tubes before anyone notices. Daily routine:
- Wipe registration and tube-presence sensors with a lint-free cloth.
- Clean squeegee and flood bar edges.
- Remove ink splatter from mandrels and transfer fingers.
Point 2: Scheduled Lubrication of Precision Rails
Linear rails and bearings control how smoothly the print stroke moves. A dry rail causes tiny jerks, called jitter, which show up as faint bands across the print.
In pharmaceutical and other GMP environments, choose lubricants certified under ISO 21469, which sets hygiene requirements for lubricants that may come into accidental contact with products or packaging. Apply them in small amounts. Too much grease attracts dust and ink mist.
Point 3: Audit Wear on Consumables
| Item | Check Frequency | Replace When |
|---|---|---|
| Squeegee edge | Every shift | Edge rounded, nicked, or swollen from solvent |
| Screens | Each job | Tension loss, pinholes, damaged emulsion |
| Drive and transfer belts | Hebdomadaire | Cracks, glazing, stretch |
| Mandrel surfaces | Hebdomadaire | Scratches, loss of grip |
| UV lamps | Monthly reading | Output falls below validated level |
| Pneumatic seals | Mensuel | Leaks, pressure drops during stroke |
Industry insight: Plants that rotate between two or three squeegees per job and re-sharpen them on a schedule usually get far longer total life from each blade. They also avoid the mid-shift “mystery streak” that a worn edge causes.
For a broader view of upkeep across the whole tube line, see our guide to cosmetic tube machine maintenance issues and solutions.
VIII. Environmental Controls for the Printing Floor
Heat, humidity, dust, and static all change how ink behaves and how precisely the machine prints.
Point 1: Regulate Ambient Temperature
Ink viscosity changes with temperature. A cold early morning shift and a hot afternoon shift can produce visibly different prints from the same ink and the same settings.
A stable room, typically 20–25 °C with humidity held around 45–60% RH, keeps viscosity predictable. If full air conditioning isn’t possible, at least keep ink stock in a temperature-controlled cabinet.
Point 2: Control Dust and Airborne Contaminants
Dust that lands on the screen or the tube blocks ink and leaves pinholes, which are tiny unprinted dots. In pharma, a pinhole in a batch code or barcode can fail inspection.
Countermeasures:
- Keep printing areas separate from cartoning and cardboard handling, a major source of fibres.
- Use positive-pressure filtered air where possible.
- Seal ink containers between uses.
Point 3: Manage Static Charge on Tubes
Plastic tubes build up static as they slide through feeders and chutes. The charge pulls in dust and can push ink away, causing spidery “whiskers” along edges.
Fix: Install ionizing bars, which are devices that neutralise static by releasing charged air, just before the print station. They are inexpensive and often fix defects that operators had blamed on the ink.
| Environmental Factor | Defect It Causes | Simple Control |
|---|---|---|
| Temperature swings | Viscosity changes, uneven density | Stable room or ink cabinet |
| Low humidity | Static, fast drying in mesh | Humidity control, ionizers |
| High humidity | Slow drying, poor adhesion with some inks | Dehumidification |
| Dust and fibres | Pinholes, specks | Filtered air, zone separation |
| Static | Ink repulsion, dust attraction | Ionizing bars |
IX. The Distributor’s Role: From Equipment Seller to Solution Partner
Distributors and agents connect a machine that has been installed with a line that consistently produces good tubes.

Point 1: Offer a 100-Hour Fine-Tuning Audit
After about 100 hours of running, new screens have settled, operators have built habits (good and bad), and the first wear patterns are showing. This is the best time for an on-site audit:
- Re-measure screen tension and registration accuracy.
- Review squeegee settings against the recorded baselines.
- Check reject logs for repeating patterns.
- Retrain operators on anything that has drifted.
For distributors, this visit costs little and tends to win repeat orders and service contracts.
Point 2: Curate Compatible Ink and Mesh Suppliers
End users often buy ink and mesh on price, then blame the machine. A distributor who keeps a tested list of suitable combinations for PE, laminated, and coated tubes removes one of the most common sources of complaints.
Point 3: Build a Rapid-Response Technical Loop
When a print defect appears, a fast diagnosis depends on good information. Ask customers to send:
- Close-up photos of the defect under good light
- A short video of the print stroke
- Current settings for pressure, angle, speed, and curing
- Ink batch and tube lot numbers
This lets the distributor, together with the manufacturer, tell a machine fault from an ink or substrate problem, often within hours.
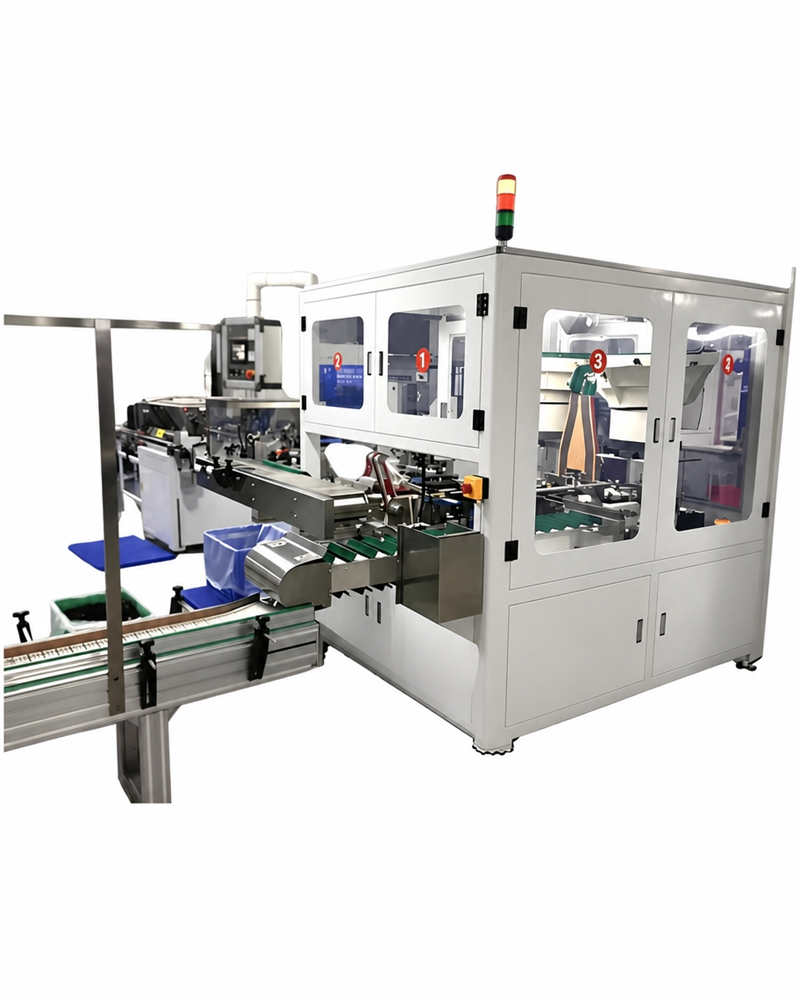
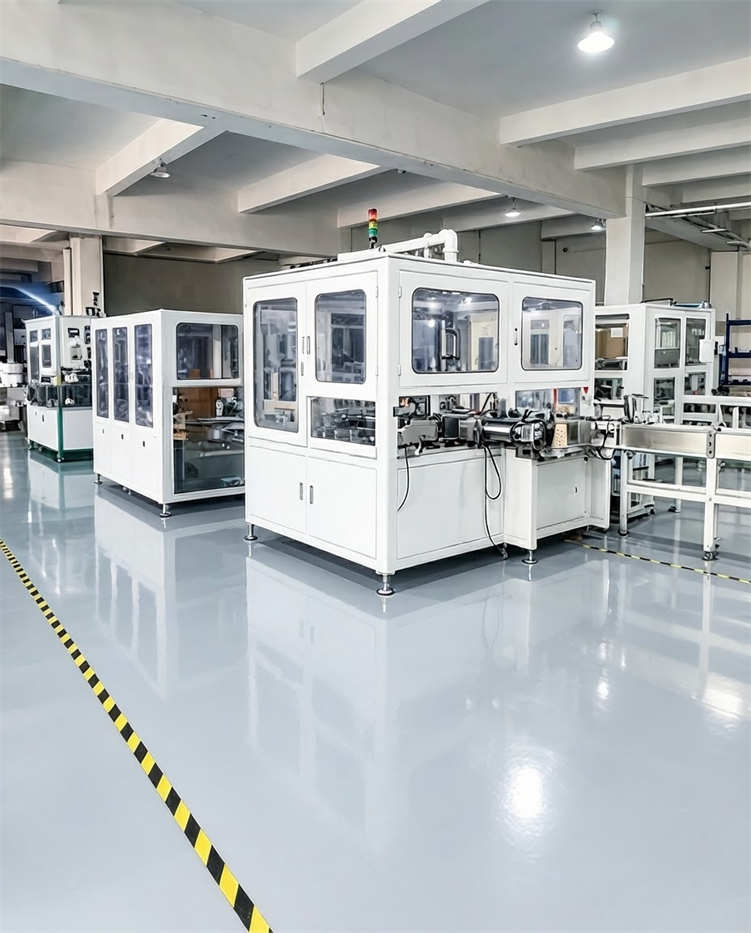
At Miyoda Packaging Machinery, we work with partners in exactly this way. Our engineers review defect photos and videos remotely, and they compare settings with the baseline recorded at commissioning. In many cases, that fixes the issue without a site visit. Distributors can look at the specifications of our tube silk screen printing machine to match models to their customers’ tube sizes and colour counts.
X. Scaling Production Through Precision and Partnership
Close-to-zero-defect tube printing doesn’t come from one adjustment. It comes from three habits working together:
| Pillar | What It Delivers |
|---|---|
| Strategic calibration | Sharp, aligned prints from the first tube of each job |
| Preventive maintenance | Stable quality across shifts, fewer mid-run stops |
| Collaborative support | Faster diagnosis, shared know-how, longer machine life |
Taking extra hours to set up properly can feel like lost production time. In practice, it is usually the best return you can get on the machine. A setup done right once can run cleanly for tens of thousands of tubes, while a rushed one leaves you chasing defects for the whole run.
If your line is printing, but not at the yield you expected, start with the basics in this guide. When you’re ready for a deeper review, contact our tube printing specialists to talk through your tubes, inks, and targets. You can also browse the full range of Miyoda tube production equipment to see how printing connects with extrusion, heading, and capping.
Glossaire des termes clés
| Term | Plain-English Meaning | Example |
|---|---|---|
| Mandrel | Rod that holds and supports the tube while it prints | Air-inflated mandrel for thin PE tubes |
| Squeegee | Rubber blade that pushes ink through the mesh | 75 Shore A blade for general work |
| Attack angle | Angle of the squeegee to the screen | 75° for a 35 mm tube |
| Snap-off (off-contact) | Gap between screen and tube before the stroke | Small gap to stop smudging |
| Registration | How well colours line up with each other | Red logo sits inside the white base |
| Screen tension | How tight the mesh is stretched | Measured in N/cm |
| Dyne level | Surface energy, which shows if ink will stick | 38+ dyne after treatment |
| Dwell time | Time spent under the UV lamp or heater | 1.2 seconds per tube |
| UV pinning | Short UV flash that partly sets ink between colours | Stops colour 1 from smearing under colour 2 |
| Blocking | Printed tubes sticking together | Tubes stacked while still warm |
For a wider list of print and production faults, see our soft tube production troubleshooting guide.
Questions fréquemment posées
1. Why am I seeing streaks or uneven ink lines on my pharmaceutical tubes despite a correct installation?
Streaks usually come from a nicked or worn squeegee edge, dried ink in the mesh, lint on the screen, or a tube slipping on the mandrel. Check the squeegee edge first, then the screen, then mandrel grip. A streak in the same spot on every tube points to a mechanical cause. Random streaks usually point to ink or dust.
2. How do I determine the ideal squeegee hardness for a soft PE tube versus a laminated tube?
Start at 70–75 Shore A for both. Soft PE tubes flex more, so a medium blade with lower pressure usually works best. Laminated tubes have a firmer surface and often print sharp fine text with a slightly harder blade (75–80 Shore A). Go softer only for heavy opaque white layers.
3. What is the best way to troubleshoot ink adhesion failure (peeling) after the tubes are cured?
Check three things in this order: the tube’s dyne level, the curing dose, and whether the ink matches the material. Most peeling comes from surface treatment that has faded on stored tubes, or from under-cured ink. Confirm with a cross-hatch tape test after adjusting.
4. How often should the registration system be recalibrated to avoid color misalignment in multi-color prints?
Check registration at every job changeover and at the start of each shift. Do a full mechanical recalibration of the indexing, mandrels, and sensors every 3 months, or after any crash, belt change, or major repair.
5. How can I reduce the amount of wasted material during the initial setup phase?
Use a master template with saved settings for each design. Print a small trial batch of 3–5 tubes, compare them with the approved reference, and make only small adjustments. Plants that do this often cut setup scrap by more than half.
6. What are the signs that my screen tension is too low for the required print precision?
Watch for image stretching along the tube, registration that drifts as the run goes on, smudging when the screen lifts, and fine text that won’t stay sharp. A tension meter confirms it, but these signs usually show up first.
7. How do I balance the speed of the conveyor with the curing time to maximize output without sacrificing quality?
Find the minimum dwell time that passes your thumb twist, tape, and rub tests. Then set line speed so every tube gets at least that exposure plus a small safety margin. Upgrading lamp output or switching to LED UV can let you run faster safely.
8. What environmental factors in my factory are most likely to cause ink viscosity fluctuations?
Temperature is the biggest factor, followed by humidity and airflow. Fans or air-conditioning outlets blowing straight on the screen can thicken ink in the mesh. Keep room temperature stable and protect the print area from direct drafts.
9. How can distributors help me identify whether a print defect is caused by the machine or the ink chemistry?
A good distributor compares your current settings with the commissioning baseline, reviews photos and videos of the defect, and may test the same ink on a known good tube. If the defect follows the ink or tube lot, it’s a material issue. If it stays at the same station or position, it’s mechanical.
10. Which specific maintenance checkpoints are most critical for preventing unplanned downtime during peak production?
Focus on squeegee edge condition, registration sensor cleanliness, drive belt condition, pneumatic pressure stability, and UV lamp output. These five account for a large share of mid-run stops on tube printing lines.
11. How do I adjust the machine to handle different tube diameters without losing print consistency?
Change the mandrel to match the diameter, reset the screen height and snap-off, adjust the squeegee angle and pressure to suit the new curve, and load the saved settings for that size. Always print a test batch against the master template before running full production.
12. What is the recommended protocol for cleaning the print head to avoid contaminating pharmaceutical-grade packaging?
Use lint-free wipes and an approved cleaning agent that suits your ink, often IPA or a supplier-recommended screen wash. Clean from the clean areas toward the dirty areas, never reuse wipes, and record the cleaning in the batch documentation. Keep cleaning chemicals well away from open tube stock.