A shopper in a pharmacy picks up a serum tube. She turns it over once. The logo sits a little off center. The red looks grey. She puts the tube back and reaches for the brand beside it.
Nobody on your line saw that happen. The tube passed inspection. The order shipped on time.
This is how print quality sets a price on your work. Cosmetic and pharmaceutical buyers never read your maintenance schedule. They look at the tube. A sharp print tells them the product is under control. A blurry print tells them something else, even when the formula is perfect.
What print quality means on a soft tube
Print quality is the repeatable match between the approved artwork and what actually lands on the tube. It has five parts:
- Position. Every color lands inside its tolerance. Most pharma work allows ±0.15 mm.
- Color. Density stays inside the approved window from the first tube to the last.
- Edge. Small text stays sharp. Halftone dots stay open.
- Adhesion. Ink survives the tape test, the squeeze, and twelve months on a shelf.
- Cure. Ink is fully dry before tubes touch each other in the bin.
Take away any one of these five and the tube fails. A print can be perfectly registered and still fail because the ink rubs off in a carton.
The real cost of one bad run
Numbers make this easier to see. Picture a line that prints 4,800 tubes an hour. Two shifts give you 76,800 tubes a day.
A 2% reject rate sounds harmless. It is 1,536 tubes a day. Add the blank, the ink, the energy, and the operator time, and each rejected tube costs about $0.10 to $0.15 before you count sorting. That is $46,000 to $69,000 a year from one line.
Then add the unplanned stop. A 90-minute stop on the same line removes 7,200 tubes of output. The restart adds 50 to 200 scrapped tubes while registration settles again.
Industry insight: The most expensive print defects are the ones that pass. A blurry logo in a shipping carton costs you a customer. A logo that is 0.4 mm off center costs you nothing today and everything at the next supplier audit.
Why we wrote this guide
This guide is a working routine, not a theory. It moves a line from fixing faults after they appear to preventing them before the shift starts. The checks below are the ones our engineers walk through when they commission a tube printing line. They are also the checks the Miyoda Packaging Machinery service team reviews with customers after the first year of production.
Most of it costs time, not money. Ten minutes of cleaning and a signed checklist prevent more waste than any upgrade you can buy.
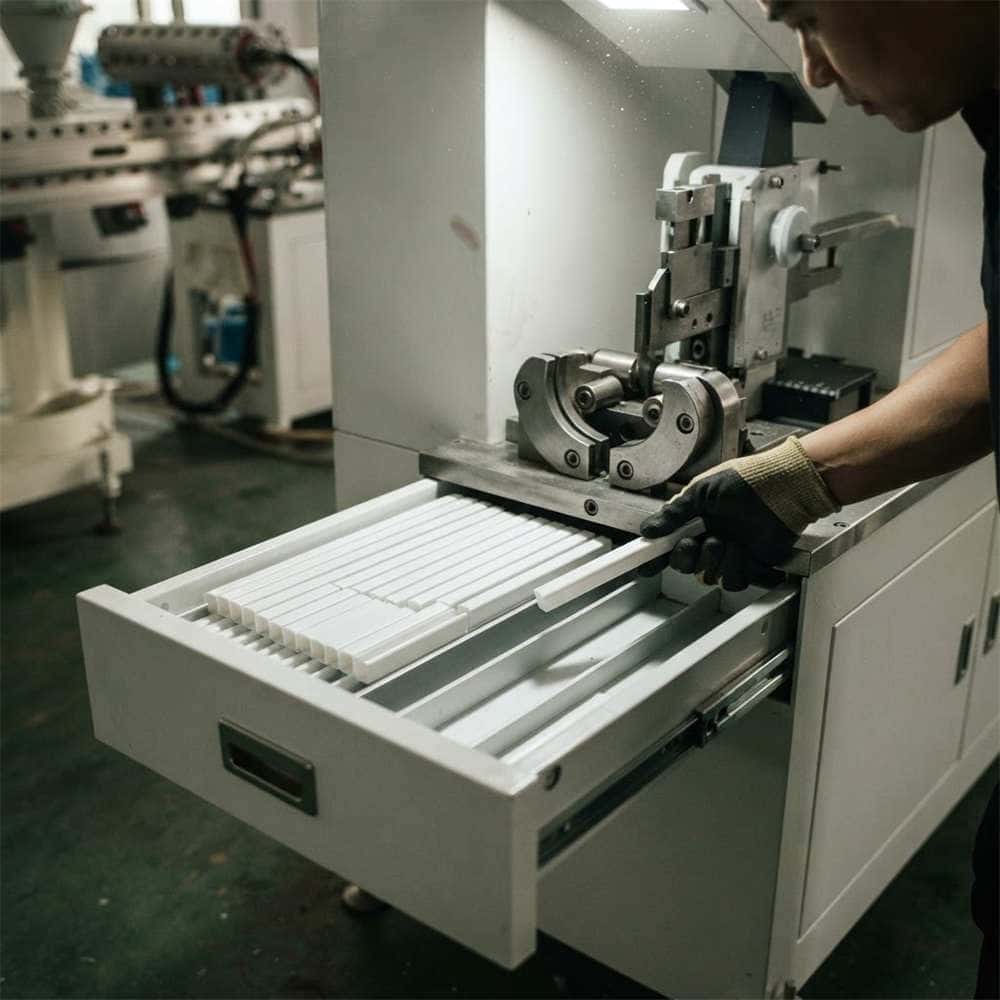
Tube handling decides half of your print quality. Dust on the feed path becomes a pinhole in the print.
Start Every Shift With Ten Minutes of Cleaning
Contamination is anything that should not be on the screen, the squeegee, the mandrel, or the tube: dried ink, dust, oil, solvent residue, or flakes of cured ink.
Most defects that show up in the first hour of a shift are not ink problems. They are cleaning problems. Operators often chase the ink formula for an hour while a dry film of last night’s ink sits on the squeegee edge.
1. Pick the solvent for the ink, not for the stain
Solvent choice is where good intentions cause damage. A UV ink needs a UV wash. A solvent-based ink needs its own thinner family. Acetone cleans fast, but it swells polyurethane squeegees, softens frame adhesive, and leaves a film that pulls ink sideways.
A squeegee that swells by 0.2 mm no longer holds a straight edge. You will see the damage as uneven density long before you see the blade.
Wipe in two stages. Use a dirty cloth first to lift the bulk of the ink. Use a clean, lint-free cloth second to remove the residue. Keep the squeegee edge dry before you start the run. Solvent left on the edge dilutes the first 20 prints.
2. Clean the path the tube travels
The tube touches more parts than the screen. It touches the feed chute, the belt, the mandrel, the transfer star, and the discharge tray.
Dust on a mandrel becomes a pinhole. A flake of cured ink on a guide rail becomes a short scratch across the artwork. Static makes this worse on PE tubes, because the tube pulls dust out of the air and holds it.
Wipe mandrels every two hours in a dusty plant. Fit an ionizing bar before the print station if you fight static all year. Cover open tube bins between batches.
3. Verify the clean, do not assume it
Finish with a test, not a feeling. Print ten tubes on white blanks. Look at them at a low angle under raking light, about 30 degrees. Raking light shows streaks, haze, and thin edges that look fine under direct light.
Sign the sheet. A cleaning routine without a signature is a habit. A signed routine is a system.
| Step | Time | What “clean” looks like |
|---|---|---|
| Screen and squeegee wipe | 3 min | No ink film on the mesh, dry squeegee edge |
| Mandrel and chute wipe | 3 min | No dust ring on the mandrel shoulder |
| Solvent check | 1 min | Cloth matches the ink system on the work order |
| Ten-tube test print | 3 min | No streaks or haze at 30 degrees |
For the full sequence, including screen frame handling and ink pan cleanup, see this guide to calibration and daily cleaning on screen printing lines.
Inspect the Three Parts That Decide Print Quality
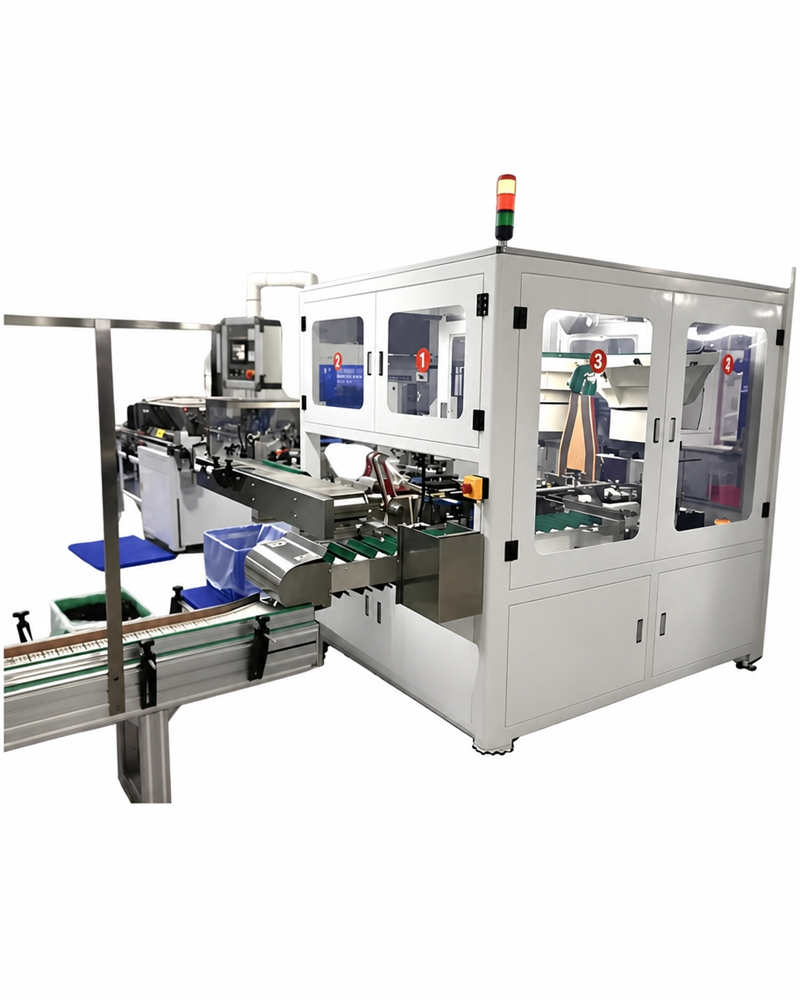
Daily inspection is cheaper than any repair. Three components control most of what the buyer sees: the squeegee, the mesh, and the moving parts that hold them in position. The checks are the same on a two-color press and on a four-color automatic tube screen printing machine.
Check the squeegee edge every shift
The squeegee is a rubber blade that pushes ink through the mesh. That basic screen printing action has not changed in a century. What has changed is how tightly the machine controls it. Most tube presses use polyurethane at 65 to 80 Shore A, set at 70 to 80 degrees to the screen.
Run a fingernail along the edge under good light. A nick the size of a hair holds ink back and prints a thin line. Resurface or replace the blade at the first sign of rounding.
Plan replacement by impressions, not by calendar:
- Standard cosmetic inks: 50,000 to 80,000 prints.
- High-opacity white and metallic inks: 30,000 to 50,000 prints.
- Abrasive UV inks with fillers: 25,000 to 40,000 prints, checked every four hours.
Measure mesh tension, do not press it with a thumb
Mesh tension is how tight the fabric sits in the frame. Low tension lets the mesh lift slowly after the squeegee passes, so the image distorts and edges blur.
Most tube screens run at 18 to 25 N/cm when new. Fine pharma text needs the upper half of that range. When tension drops by 3 N/cm, the screen is done for critical work, even if it still looks tight.
Use a tension meter at four points. Write the readings on the frame label with the date. A screen with history is a screen you can trust.
Lubricate on a schedule, with the right grease
Friction shows up as print defects before it shows up as a breakdown. A dry linear rail makes the print head hesitate for a few milliseconds. That hesitation moves the image by a fraction of a millimeter.
| Part | Interval | Note |
|---|---|---|
| Linear rails and print carriage | Weekly or every 40 hours | Thin film only, wipe excess |
| Indexer cam and gearbox | Monthly | Check for play at the same time |
| Pneumatic filter and water trap | Weekly | Water in the air line causes pressure drift |
| UV lamp reflector | Weekly | Dust cuts dose and slows cure |
For pharmaceutical rooms, use lubricants registered to NSF H1 or certified to ISO 21469, and record the product name in the log. Auditors ask for it.
The Defect Matrix: Find the Cause in Five Minutes
Every printer knows the look of a bad tube. Fewer know the first thing to touch. Use this table before you change any setting. Change one variable at a time, then print ten tubes.
| What you see | Most likely cause | First fix |
|---|---|---|
| Ghosting or a faint double image | Screen lifts late, or registration drifted | Check snap-off gap and re-zero the registration sensor |
| Blurred edges and filled-in text | Too much squeegee pressure, or ink too thin | Reduce pressure, then check viscosity with a cup |
| Ink bleeding outside the artwork | Ink too thin, or squeegee angle too low | Raise viscosity to the work order value, set angle to 75 degrees |
| Pinholes, small white gaps | Dust on the tube or mandrel, or a clogged mesh | Wipe the path, wash the screen, check static |
| Skipped prints on some tubes | Tube feed out of sync, or a missing-tube sensor fault | Check the feed timing and clean the sensor lens |
| Smudging at the shoulder | Incomplete cure, or tubes stacked too warm | Raise UV dose, add a cooling zone before the bin |
| Color weaker on one side | Uneven squeegee pressure across the print width | Level the print head, check blade flatness |
Ghosting is a timing problem, not an ink problem
Ghosting means a faint copy of the image appears beside the real one. The mesh released from the tube a moment too late, so it touched the wet ink again.
Check the snap-off gap first. That is the small distance between the screen and the tube at rest, usually 1 to 3 mm on soft tubes. Small tubes of 16 to 19 mm need the lowest end of that range. Adjust in steps of 0.5 mm.
Pinholes are usually dirt with a story
A pinhole is a tiny unprinted dot inside a solid area. Nine times out of ten, something sat between the mesh and the tube: dust, a dried ink flake, or a fiber from a cleaning cloth.
If pinholes appear in the same position on every tube, the mesh is clogged at that spot. If they move around, the contamination is on the tube or the mandrel.
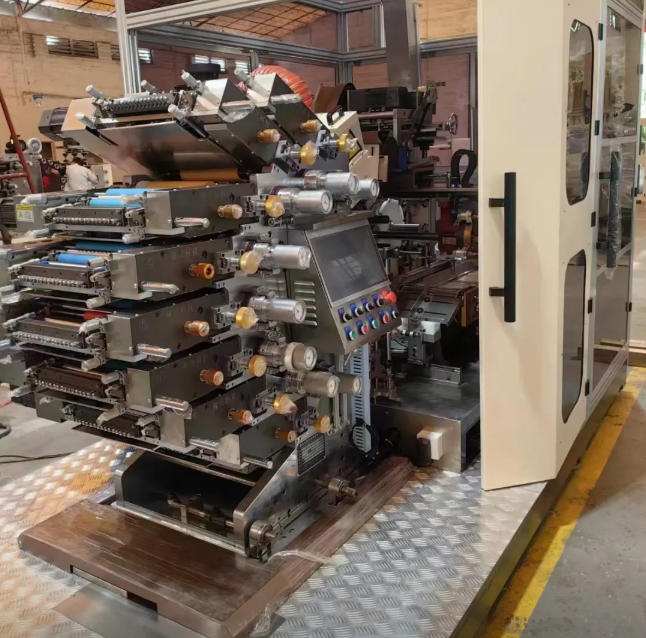
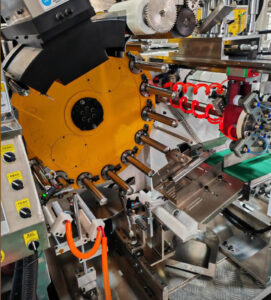
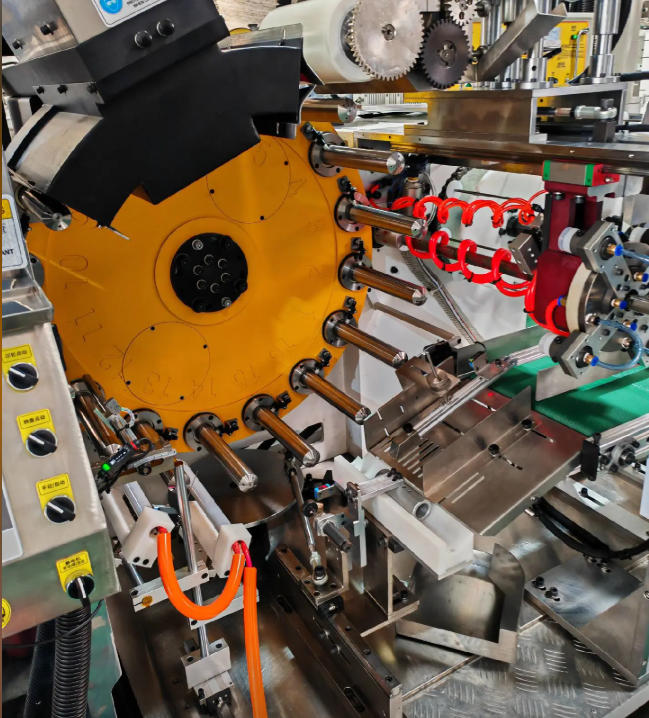
A four-color station stack. Each station adds one chance for pressure drift, so level the heads after any mechanical work.
If your line runs dry offset rather than screen, the pressure balance between plate, blanket, and tube replaces the squeegee setting. The same logic applies, and the same discipline works on dry offset printing systems built for high-volume cosmetic work.
Registration: The First Thing a Pharma Auditor Checks
Registration is how precisely each color lands on the previous one. On a three-color logo, a 0.3 mm shift shows as a white gap on one side and a dark edge on the other. The buyer sees a cheap tube.
Cosmetic work often accepts ±0.2 mm. Pharmaceutical work with fine text and codes usually needs ±0.15 mm or better. Auditors compare your records against frameworks such as ISO 22716 good manufacturing practice and, for US-bound products, 21 CFR Part 211. Both expect documented control, not only good output.
Calibrate the X-Y axis for every tube diameter
The mandrel center must sit exactly under the screen center. Change from a 35 mm tube to a 50 mm tube and the geometry changes, even when the machine looks set.
Match the mandrel to the tube diameter within 0.1 mm. Then check the print position at the top, middle, and bottom of the tube. If the image walks from one end to the other, the mandrel axis is not parallel to the screen.
Run a first-piece inspection before every run
A first-piece inspection is a signed check of the first five tubes against a master sample. It takes four minutes and prevents hours of scrap.
- Print five tubes at production speed, not at a slow crawl.
- Compare position against the master with a loupe or a video measuring scope.
- Check color density against the approved drawdown.
- Run a tape test on one tube to confirm adhesion.
- Confirm cure with a thumb twist, then a rub with a dry cloth.
- Sign the sheet with time, shift, and machine number.
Expect the tube to move when the room changes
Soft tubes react to the room. PE tubes expand as they warm and shrink as they cool. Laminate tubes take up moisture at the cut edge and change length by a few tenths of a millimeter. The difference between these two tube substrates explains why one job drifts and the next one does not.
A line that prints perfectly at 8 a.m. can drift by lunchtime when the workshop warms up. Re-check registration after the first two hours, and again after any long stop.
https://www.youtube.com/watch?v=RX1XMdHuIGE
Watch a full tube printing line: loading, registration, four-color printing, and UV curing in one pass.
Operator Habits That Protect Uptime
The machine repeats what the operator sets. Most variation between shifts comes from setup, not from hardware.
Standardize changeover
Changing from a 35 mm tube to a 50 mm tube touches the mandrels, the feed width, the screen frames, the print pressure, and the cure setting. Without a standard, two operators will produce two different results.
Build a setup sheet for each tube size. Record torque values, air pressure, snap-off gap, and UV power. Keep the sheet at the machine, not in an office. Target a 20 to 30 minute changeover, then protect that target.
Teach operators to hear the machine
Experienced operators catch faults before the first bad tube. They notice a new rattle at the indexer, a pressure gauge that drops 0.2 bar, or a UV lamp that sounds different.
Give new operators a short list of warning signs and a rule: stop, note, and call. A five-minute stop with a note beats a two-hour stop with a mystery.
Keep a log that predicts failures
A maintenance log is only useful when it stores numbers. Track squeegee life in impressions, not weeks. Track UV lamp hours, not months. Track rejects by defect type, not “quality issues”.
| Log field | Why it matters |
|---|---|
| Squeegee impressions at change | Shows real blade life for each ink |
| UV lamp hours | Predicts the dose drop before cure fails |
| Defect count by type | Points to the station that needs work |
| Registration offset at start and end of shift | Reveals thermal drift |
This log is also the evidence you hand over in a pharma packaging compliance review. Buyers rarely ask how fast the machine runs. They ask how you know the print is right.
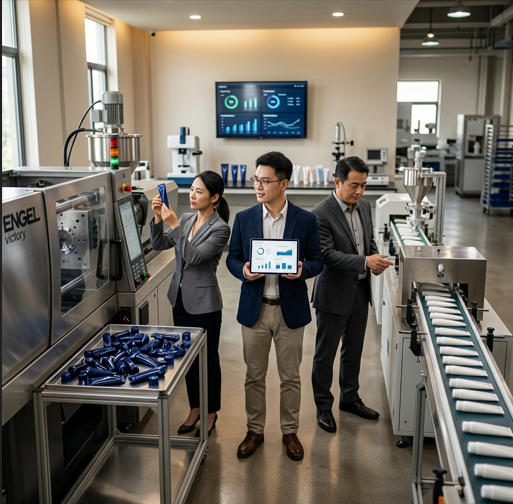 Numbers on a screen are only useful when the team reviews them weekly, not once a year.
Ink: Viscosity Is a Number, Not a Feeling
Viscosity is a measure of how thick a liquid resists flow. On a tube press, it decides how much ink passes through the mesh and how fast it levels before curing.
Too thick and the ink bridges the mesh slowly. You get missing dots and a rough surface. Too thin and the ink spreads under the screen. You get bleeding and weak color.
Measure with a cup, on a schedule
Use a flow cup (Zahn type) and keep the reading with the work order. Typical tube inks run at 18 to 25 seconds on a number 2 cup, but the approved value comes from your ink supplier, not from a chart.
Hold the value within ±5%. Re-check at the start of each shift, after any ink addition, and after two hours of running.
Control temperature before you add thinner
Ink gets thinner as it warms. A drum that reads 24 seconds at 20 °C can read 20 seconds at 30 °C with the same formula. If you thin it to hit the number, you have over-thinned it.
Keep ink at 22 to 25 °C. Store drums away from heaters and skylights. Let cold ink reach room temperature overnight instead of thinning it in the morning.
Store, seal, and recover ink properly
- Seal containers right after use. Skin forms in minutes on some UV inks.
- Store UV ink away from daylight. It cures on exposure, even in a clear container.
- Follow first-in, first-out. Most inks carry a 6 to 12 month shelf life.
- Filter recovered ink through a 100 to 150 micron mesh before reuse.
- Blend recovered ink at 20 to 30% with fresh ink, never 100%.
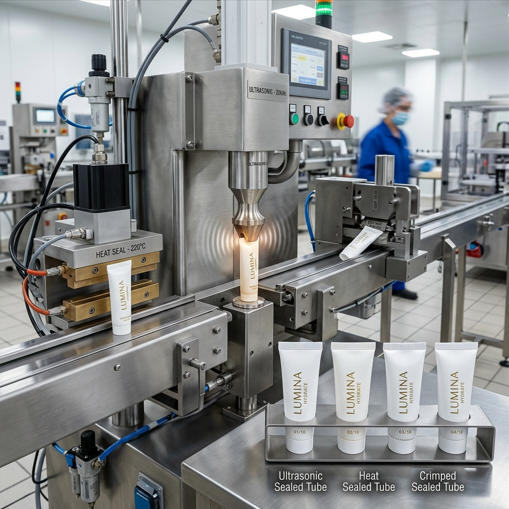 Even ink film shows as flat color with no mottling. Uneven density across the tube usually starts at the squeegee, not the ink drum.
Control the Room, Not Just the Machine
Humidity and temperature change how ink flows, how it cures, and how well it sticks. Two plants with identical machines can produce very different tubes for this reason alone.
| Parameter | Target range | What goes wrong outside it |
|---|---|---|
| Room temperature | 22 ± 2 °C | Viscosity swings, registration drift on PE tubes |
| Relative humidity | 45 to 65% | Static and dust below 40%, slow drying above 70% |
| Air cleanliness | Filtered, positive pressure | Dust specks and pinholes |
| Tube storage | Sealed, off the floor | Moisture pickup at the cut edge |
Dry air causes more defects than humid air
Below 40% relative humidity, static builds on PE tubes and on the mesh. Dust sticks to the print area and pinholes jump. You can add humidity, or you can add ionization. Most plants need a little of both in winter.
Wet air slows the cure
Above 70% relative humidity, solvent inks dry slowly and UV curing can leave a tacky surface at the same lamp dose. Tubes then stack warm and smudge at the shoulder. That defect appears at packing, hours after the print station, which makes it hard to trace.
Replace Parts on a Calendar, Not on a Breakdown
Reactive replacement means the machine chooses the moment. A squeegee that fails at 2 a.m. takes the whole line down until morning.
Build a lifecycle chart from your own logs, then set a replacement point at 80% of measured life.
| Part | Typical life | Replace when |
|---|---|---|
| Squeegee blade | 30,000 to 80,000 impressions | Edge rounds or nicks |
| Screen mesh | 50,000 to 150,000 impressions | Tension drops 3 N/cm, or mesh clogs |
| UV lamp (mercury) | 1,000 to 2,000 hours | Output falls below the cure check |
| LED UV module | 20,000+ hours | Dose check fails at normal power |
| Feed belts | 12 to 24 months | Tracking drifts or surface glazes |
| Mandrel O-rings | 6 to 12 months | Tube wobbles on the mandrel |
| Registration sensor | Clean weekly | Reading becomes unstable |
Distributors should hold critical spares, not full inventory
For agents and distributors, the right question is not “what might break” but “what stops my customer’s line in the first four hours”. Keep a small, fast-moving kit: squeegees in the two most common hardness values, a spare screen frame clamp, sensor lenses, O-rings, and one UV lamp.
A useful rule of thumb is 2 to 5% of the machine value in local stock. That covers most first-day failures without tying up capital.
Premium parts are cheaper per million tubes
A $12 squeegee that lasts 30,000 impressions costs $0.40 per thousand tubes. A $30 blade that holds its edge for 90,000 impressions costs $0.33 per thousand, and it produces fewer rejects along the way. Price per part hides the real number. Cost per thousand printed tubes shows it.
If you are comparing suppliers on price alone, this breakdown of the true cost of ownership for screen printing equipment shows where the money actually goes.
Build the Routine, Then Trust It
Cleaning, inspection, and operator skill work as one system. Cleaning removes the small faults. Inspection catches the slow drift. Operator skill decides whether the machine is set the same way on every shift.
The return is not dramatic in any single week. It shows up in three places over a year:
- Less waste. Fewer rejects at the print station and fewer surprises at packing.
- More uptime. Planned stops of ten minutes replace unplanned stops of two hours.
- Stronger trust. Buyers stay when your print survives their audit and their shelf.
Start with one change this week. Print ten tubes at the start of every shift and sign the sheet. Add the squeegee log next month. Within a quarter you will know exactly where your defects come from.
The tubes you print also have to survive the rest of the line. Ink that is not fully cured will fail at the tube filling and sealing machine, and a print that fails there looks like a filling problem to everyone except the person who ran the printer.
If you want a second pair of eyes on your current settings, the engineers at Miyoda Packaging Machinery can review your inks, tube sizes, and machine parameters with you. You can reach the tube printing team here and ask for a maintenance review.
Key Terms in Plain English
| Term | Plain meaning | Example |
|---|---|---|
| Registration | How well each color lines up with the others | ±0.15 mm on a three-color logo |
| Squeegee | Rubber blade that pushes ink through the mesh | 75 Shore A polyurethane blade |
| Mesh count | Threads per centimeter in the screen fabric | 140 threads/cm for small pharma text |
| Screen tension | How tight the mesh sits in the frame | 20 N/cm when new |
| Snap-off | Gap between screen and tube at rest | 2 mm on a 35 mm tube |
| Mandrel | Rod that holds and turns the tube during printing | 35 mm mandrel for a 35 mm tube |
| Viscosity | How thick the ink is, measured in seconds | 22 seconds on a number 2 cup |
| Dyne level | Surface energy that lets ink wet the tube | 38 to 42 dynes/cm on treated PE |
| Ghosting | Faint double image beside the real print | Caused by late mesh release |
| Pinhole | Tiny unprinted dot inside a solid area | Dust on the mandrel |
| First-piece inspection | Signed check of the first tubes against a master | Five tubes at full speed |
| TPH | Tubes produced per hour | 4,800 TPH on a four-color line |
Questions Buyers and Distributors Ask Most
How often should I replace the squeegee to stop blurry print?
Check the edge every shift. Plan replacement at 50,000 to 80,000 impressions for standard cosmetic inks, and at 25,000 to 40,000 for abrasive white or metallic inks. Replace at once if you find a nick, because small pharma text shows every flaw.
Which solvent is safe for cleaning pharma-grade ink?
Use the wash the ink maker specifies for that ink family. For UV inks, that means a dedicated UV wash. Avoid acetone and strong ketones on polyurethane squeegees, because they swell the blade and attack frame adhesive. Confirm the wash is compatible with your cleanroom rules before use.
Why does registration drift during long runs?
Three causes cover most cases: mesh tension loss, frame clamps that were not re-torqued, and heat building up in the machine and the room. Re-check clamps after the first two hours, log the offset at the end of each shift, and watch the room temperature.
How do I fix ink adhesion on PE versus laminate tubes?
PE needs surface energy of 38 to 42 dynes/cm, so check every batch with dyne pens and treat the tube if it reads low. Laminate holds ink well but can pick up moisture at the cut edge, so store it sealed and print within the supplier’s window.
What are the signs that mesh tension is too low?
Edges look soft, fine text fills in, and the image shifts slightly between the start and end of a run. A thumb press feels soft instead of drum-tight. A tension meter confirms it: a drop of 3 N/cm means the screen is finished for critical work.
How can I cut changeover time between tube diameters?
Build a setup sheet per tube size with torque, pressure, and gap values. Pre-stage screens and mandrels before the line stops. Group orders by diameter when you plan production. Most plants cut changeover from an hour to under 30 minutes with these three steps.
What humidity should a tube printing room hold?
Keep relative humidity between 45 and 65% and temperature at 22 ± 2 °C. Below 40% you get static and dust. Above 70% drying slows down and tubes smudge when they stack. Measure at the print station, not at the door.
How do I troubleshoot pinholes in a solid print area?
If the pinholes appear in the same spot on every tube, the mesh is clogged there. If they move, the contamination sits on the tube, the mandrel, or the air. Wipe the tube path, wash the screen, and check static control before you touch ink.
Which parts need daily lubrication, and which need monthly?
Linear rails and the print carriage take a thin film weekly, or every 40 running hours. The indexer cam, gearbox, and chain drive need monthly checks. Pneumatic water traps need weekly draining. Use NSF H1 lubricants in pharma rooms and log what you used.
How do I train new operators to match experienced ones?
Give them a written standard, not a verbal one. Use a setup sheet, a first-piece checklist, and a photo library of good and bad tubes. Pair each new operator with an experienced one for the first ten changeovers. Then audit the signed sheets weekly.